
Embroidering a Wedding Veil with the Sacred Heart Garland Set

By Alice Huntly - 10/10/2026 - 0 comments
The Request
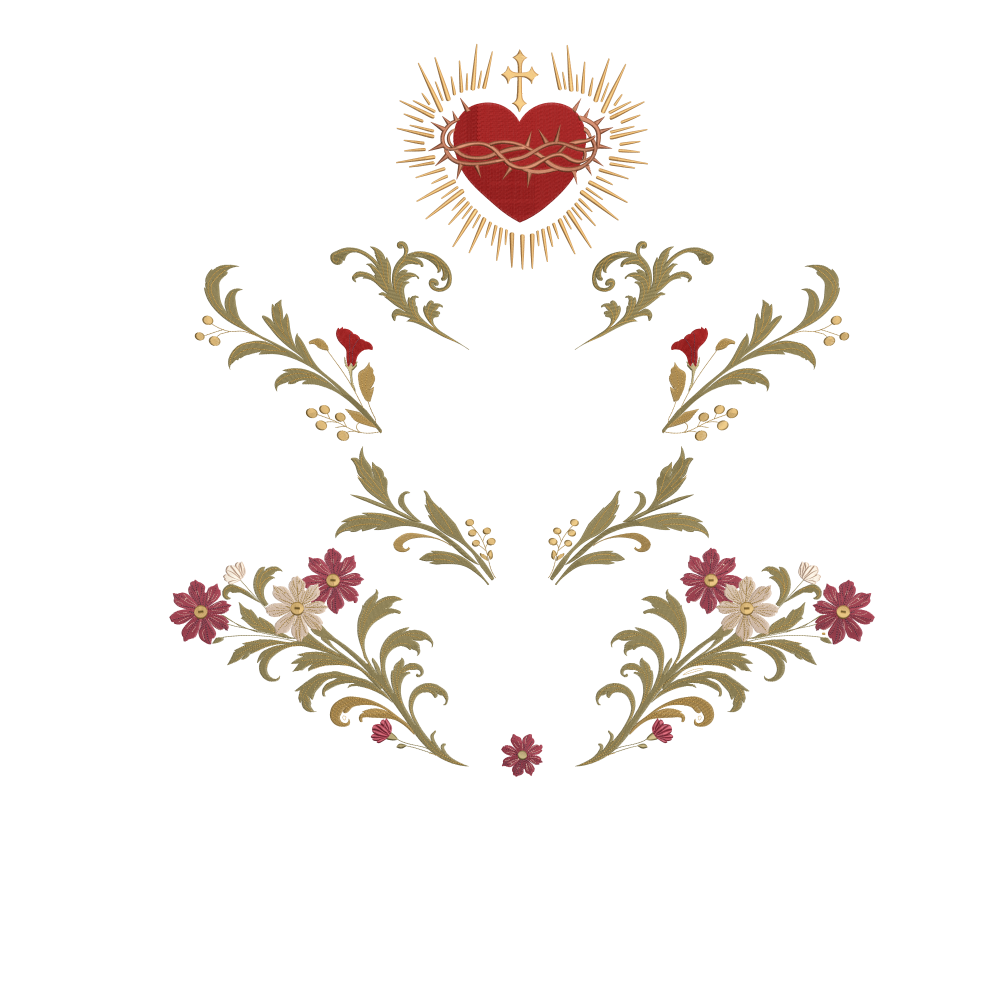
When my son was getting married, his bride-to-be asked me to take up her dress, add some sleeves and make her veil. For the veil she had some low-cost options, but I could tell they were not what she would love. When I finally got her to really think about it, she told me she loved the idea of the Sacred Heart on the bottom. So I got to work putting together a concept, and I digitised the Sacred Heart Garland set.

She was very excited, but she was still careful not to expect too much. Honestly, she is the furthest thing from a Bridezilla you could imagine. She was grateful for whatever help I gave and kept telling me she would love whatever I did.
About the Sacred Heart Garland Set
The set includes 5 pairs of designs in the largest design needs a hoop of at least 300mm x 220mm. Need a different size? You can resize the designs for free in StitchLab Online. For bigger changes, Allsorts StitchLab Windows Allsorts StitchLab Mac gives you more control. These sewed out beautifully on organza, but would work on most fabrics.
As well as a veil, these designs would be lovely on christening gowns, cushions, table runners, or your even towels.
A New Machine and a Learning Curve
I had just got my new 10 needle Halo machine, and I had to go through a bit of a learning curve. It also had a touch screen malfunction the day I wanted to start stitching. Luckily, with help from the staff at Echidna, I was able to use a mouse to operate the machine until the new screen arrived.
The Wedding Day Rush
I had decided not to embroider directly onto the veil to avoid placement problems and the risk of the machine damaging the veil. Remember, this was a brand-new machine I had never used before.
I started stitching the designs using a few different methods. None of them worked. FSL looked dreadful on the veil. I finally stitched them onto organza with a border, but the border was a mistake. When I tried to stitch them onto the veil following the border, it did not sit flat.
By now it was Saturday morning, the day of the wedding. There I was, the mother of the groom, still in my pjs at 2pm for a wedding starting at 3pm, trying to get these beautiful flowers onto the veil.
I even tried gluing them. That was a mess. I finally managed to sew the bottom part of the design onto the veil, and my lovely daughter drove it to the bride so her hairdresser could put it on at about 2:10pm.
What I’d Do Differently
Hindsight is a wonderful thing. If I had one more day, I would have got all those lovely flowers onto the veil. Here is what I learned:
- Give yourself more time than you think you need. Especially with a new machine.
- Test your planned method for attaching them as soon as you have the first piece stitched, I waited until all of the flowers were embroidered.
- Leave off the border. Stitching the flowers onto organza works, but the border stopped them sitting flat on the veil.
- I used PVA glue, I think the hot glue gun might have worked better at least to sew them on
- Don't try hand sewing in a hurry with invisible thread, use the machine.
She was very happy with it anyway, and it got a lot of compliments on the day.
Make Your Own
If you’d like to create something special for a wedding, christening or keepsake, you can find the Sacred Heart Garland set here
Happy stitching,
Alice
Tags: Sacred Heart Garland, wedding veil embroidery, bridal embroidery, machine embroidery, Sacred Heart embroidery design, embroidery on tulle, embroidery on organza, wedding embroidery projects, Halo embroidery machine, embroidery hints and tips, mother of the groom, StitchLab
Comments
Write a comment